Master Your Gingerbread House: Tools, Tricks & Sturdy Recipes
The enchanting aroma of gingerbread baking, the delicate artistry of icing, and the sheer joy of creating a festive masterpiece – building a gingerbread house is a cherished holiday tradition for many. From humble graham cracker beginnings to elaborate gingerbread mansions, this annual ritual brings families and friends together, sparking creativity and a little friendly competition. Through years of delightful trial and error, my sister and I have honed our approach, discovering my favorite gingerbread house tools tips tricks that transform a potentially overwhelming project into a rewarding and fun experience.
Whether you're a seasoned gingerbread architect or embarking on your very first edible construction, this comprehensive guide will equip you with the knowledge to build a house that stands tall, looks magnificent, and perhaps even tastes delicious. Let's dive into the secrets of sturdy foundations, essential instruments, and clever techniques that will make your gingerbread dreams a reality.
The Foundation of Success: Sturdy Gingerbread Recipes
Every impressive structure begins with a strong foundation, and for a gingerbread house, that means the right gingerbread recipe. Not all gingerbread is created equal, especially when it comes to load-bearing walls and roofs. You'll typically find two main categories:
- Construction-Grade Gingerbread: This is the workhorse of gingerbread architecture. Designed for maximum stability and minimal spread during baking, these recipes often result in a very hard, dense gingerbread that isn't particularly pleasant to eat. Think of it as edible lumber. Ingredients like a higher flour-to-fat ratio and less leavening contribute to its exceptional sturdiness. If your primary goal is an impressive display piece that will last for weeks, this is your go-to.
- Edible & Sturdy Gingerbread: For those who want to admire and then devour their creation, a hybrid recipe is ideal. These recipes strike a balance, offering enough structural integrity to build with, yet remaining tasty enough to enjoy. They tend to have a richer flavor profile, often featuring more molasses and spices, while still resisting excessive spread in the oven. This type is perfect for family projects where sampling is part of the fun.
Beyond the gingerbread itself, your "mortar" is equally crucial. Royal icing is the industry standard for gingerbread house construction because it dries incredibly hard and strong. It's made primarily from powdered sugar, egg whites (or meringue powder), and a touch of lemon juice or vinegar. For advanced builders, or those tackling intricate details, a clear, thin edible glue like Tylose "glue" can provide nearly invisible adhesion, though it requires specific ingredients.
Essential Tools for Gingerbread Construction
Just like any construction project, having the right tools makes all the difference. Discovering my favorite gingerbread house tools tips tricks often involves experimentation, but these items are consistently on our "must-have" list:
For Cutting & Shaping:
- Rolling Pin: A sturdy rolling pin is essential for achieving an even dough thickness, critical for walls and roofs that fit together precisely.
- Sharp Knife or Pizza Cutter: For clean, straight cuts, especially important after baking.
- Ruler and Stencils: Precision is key! Use stencils (homemade or purchased) and a ruler to ensure your pieces are perfectly sized and angled.
- Parchment Paper or Silicone Mats: Prevents sticking and makes transferring dough easier.
For Baking & Cooling:
- Baking Sheets: Flat and sturdy for even baking.
- Cooling Racks: Allows air circulation for complete cooling, preventing soggy gingerbread.
For Assembly & Decoration:
- Piping Bags & Tips: Essential for applying royal icing neatly and effectively. Round tips are great for "gluing" and outlining, while star tips add decorative flair.
- Offset Spatula: Handy for smoothing icing or spreading larger areas.
- Cans and Mugs: Your best friends for propping up walls and roofs while the icing dries.
- Small Paintbrushes (food-safe): For applying details with food coloring or a thin layer of edible glue.
For a complete rundown of all the essentials, including specific candy recommendations and advice on choosing a sturdy base for your house, be sure to check out our detailed guide: Essential Gingerbread House List: Tools, Candies & Sturdy Bases.
Smart Tricks for a Flawless Gingerbread Build
Beyond the right tools, mastering my favorite gingerbread house tools tips tricks hinges on smart strategies and foresight. These are the lessons we learned through a fair bit of trial and error:
Precision Post-Bake is Paramount:
- Trim While Warm: Even the sturdiest gingerbread dough can spread a tiny bit during baking. A little spread is all it takes to throw off your angles and make assembly a nightmare. As soon as your gingerbread pieces come out of the oven, check them against their stencils. While still warm and pliable, use a sharp knife or pizza cutter to re-trim any edges, ensuring perfect squares, rectangles, and triangles. This is perhaps the single most important trick for a structurally sound house.
- Smooth Air Bubbles: If you spot any small air bubbles on your warm gingerbread, gently press them down with a light rolling pin or the back of a spoon. This creates a smoother surface, which is ideal for icing and a more professional finish.
Pace Yourself: Embrace the Multi-Day Project:
Building a gingerbread house, especially a larger one, can be an all-day affair. To avoid burnout and ensure better results, consider breaking it into a two- or three-day project:
- Day 1: Planning & Prep: Cut out your stencils, gather all your ingredients, and organize your workspace. This sets the stage without the pressure of baking.
- Day 2: Baking & Trimming: Mix your dough, roll it out, cut your pieces, bake them, and most importantly, trim them precisely while warm. Allow all pieces to cool completely, ideally overnight, to prevent breakage during assembly.
- Day 3: Assembly & Decorating: The fun part! Assemble your house, letting each section dry before adding the next. Then, unleash your creativity with decorations.
This staggered approach makes the entire process feel far less overwhelming and allows each stage to be completed thoroughly, leading to a much better final product.
Strategic Support is Key:
While your royal icing dries, your walls and roof will need support. Use everyday kitchen items like cans, mugs, or even small boxes to prop up your walls. Hold them in place for a few minutes until the icing sets enough to stand on its own, then leave the props there for at least an hour, or even several, to ensure maximum stability. Patience here prevents catastrophic collapses!
Never Underestimate Ingredient Needs:
This is a lesson learned the hard way! Always buy more ingredients than you think you need. Nothing is worse than running out of powdered sugar in the middle of mixing royal icing, or realizing you need more flour for a second batch of dough because a piece broke. Having extra on hand saves a stressful, project-halting trip to the store. This applies to candy decorations too – more is always better for creative freedom!
For more ingenious solutions to common gingerbread house dilemmas, from assembly hacks to decorating shortcuts, don't miss our article: Gingerbread House Hacks: Building, Decorating & Problem Solving.
The Art of Adhesion: Icing & Edible Accents
With your sturdy gingerbread pieces ready, it's time for the true artistry – the assembly and decoration. The choice of adhesive and decorations can truly elevate your gingerbread house.
Beyond Basic Adhesion:
- Royal Icing Reinforcements: While royal icing is your primary glue, don't be afraid to use it generously, especially on structural joints. For extra strength, you can even pipe a bead of icing along the *inside* seams of your house after the initial drying.
- Edible "Glass" Windows: For a magical touch, create edible "glass" windows using melted hard candies or gelatin sheets. Simply pour the melted candy into the window cut-outs of your raw gingerbread pieces before baking (the candy will melt and harden into a clear pane) or attach gelatin after baking.
Creative Candy & Edible Decorating:
The fun truly begins when you start decorating! While holiday-themed sprinkles are a classic, expanding your repertoire of edible embellishments opens up a world of creative possibilities:
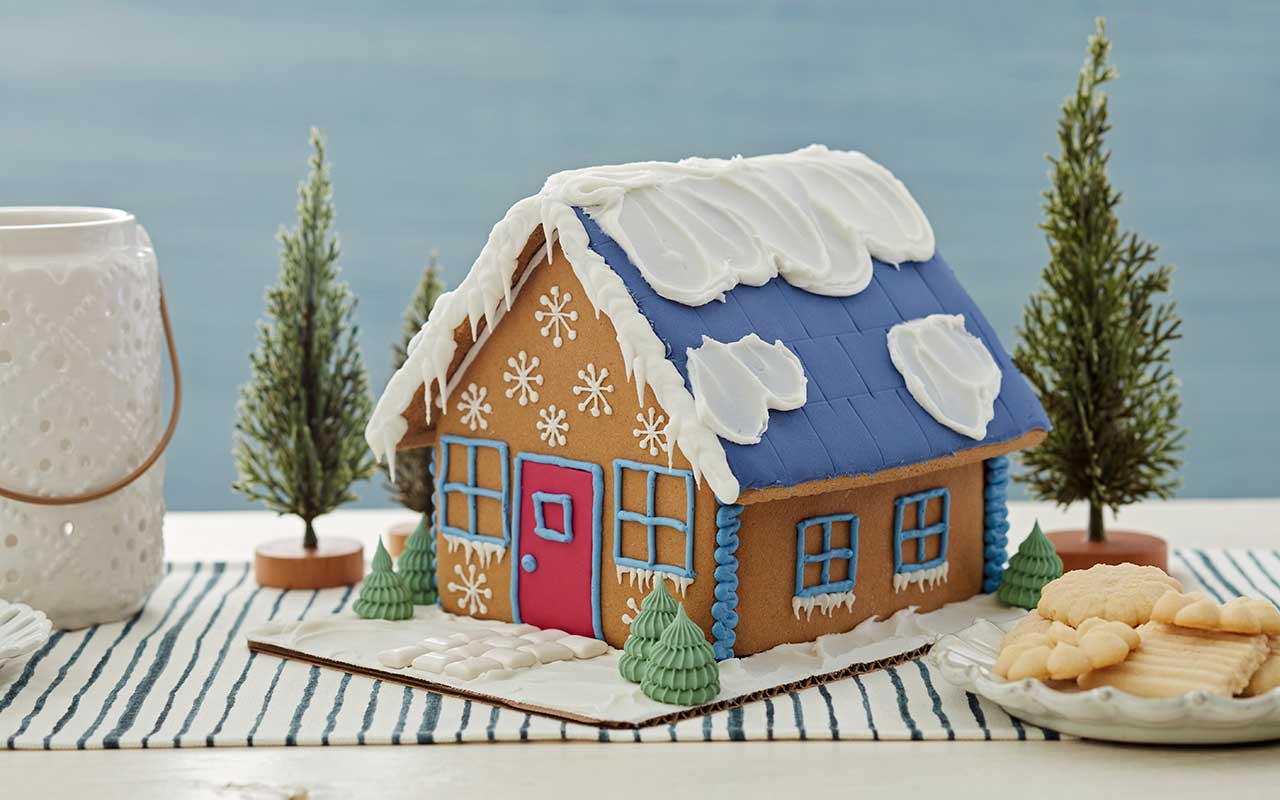
- Ice Cream Cones: Sugar cones are incredibly versatile. Invert them and cover them with green icing and sprinkles to create charming evergreen trees. They can also be used as turrets for castles or small planters.
- Candy Canes: Classic candy canes are perfect for fence posts, columns, street lamps, or even structural supports inside your house.
- Nuts: Peanuts, pecans, almonds, and especially slivered almonds make fantastic roofing materials, simulating shingles. Crushed nuts can also add texture to landscaping.
- Pretzel Rods: These are amazing for logs, firewood piles, signposts, or even miniature fences. They can also be used internally as additional structural supports.
- Graham Crackers: Beyond being a beginner's building material, graham crackers are excellent for creating flat surfaces like stairs, signs, decks, or even quick roof sections. They can also be hidden inside for extra support.
- Wafers and Cookies: Thin wafer cookies can be turned into doors or shutters, while small round cookies can become stepping stones.
- Shredded Coconut: A timeless classic for creating realistic snow drifts and frosty ground cover.
- Gumdrops & Candies: From colorful pathways to whimsical bushes and vibrant wall decorations, the variety of candies available is endless.
Building a gingerbread house is more than just baking; it's an annual celebration of creativity, patience, and holiday spirit. Armed with my favorite gingerbread house tools tips tricks shared here, you're ready to embark on your own gingerbread adventure. Embrace the process, don't fear imperfections (they add character!), and most importantly, enjoy the tradition. Happy building!
